Open WebUI + Nbility: Multi-Model Chat Panel on Your Server
Part 10: deploy Open WebUI on a server, connect it to Nbility, and keep both local and cloud model routes.
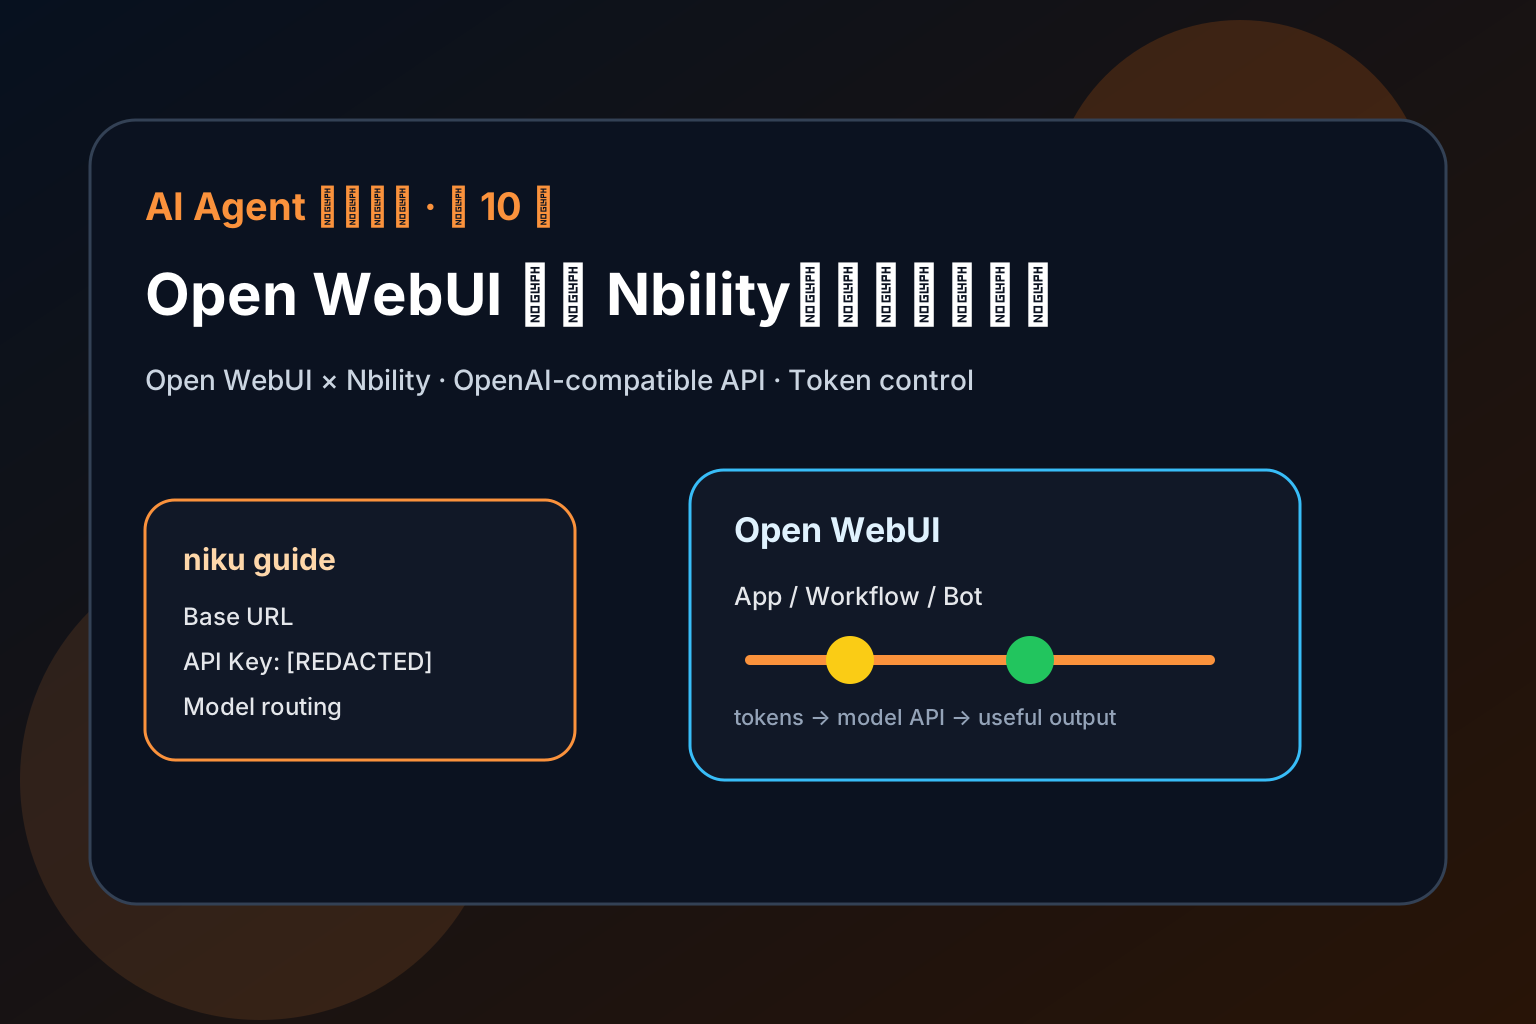
The previous articles covered Hermes, OpenClaw, and token cost. This one moves into practical application deployment: connect Open WebUI to Nbility and turn a model API into a usable product workflow.
By the end, you should understand:
- what Open WebUI is useful for;
- where Base URL, API Key, and model name belong;
- how to avoid unnecessary token consumption.
What Is Open WebUI Good For?
Open WebUI turns model capabilities into an application surface: knowledge bases, workflows, chat panels, automation, support bots, or group assistants.
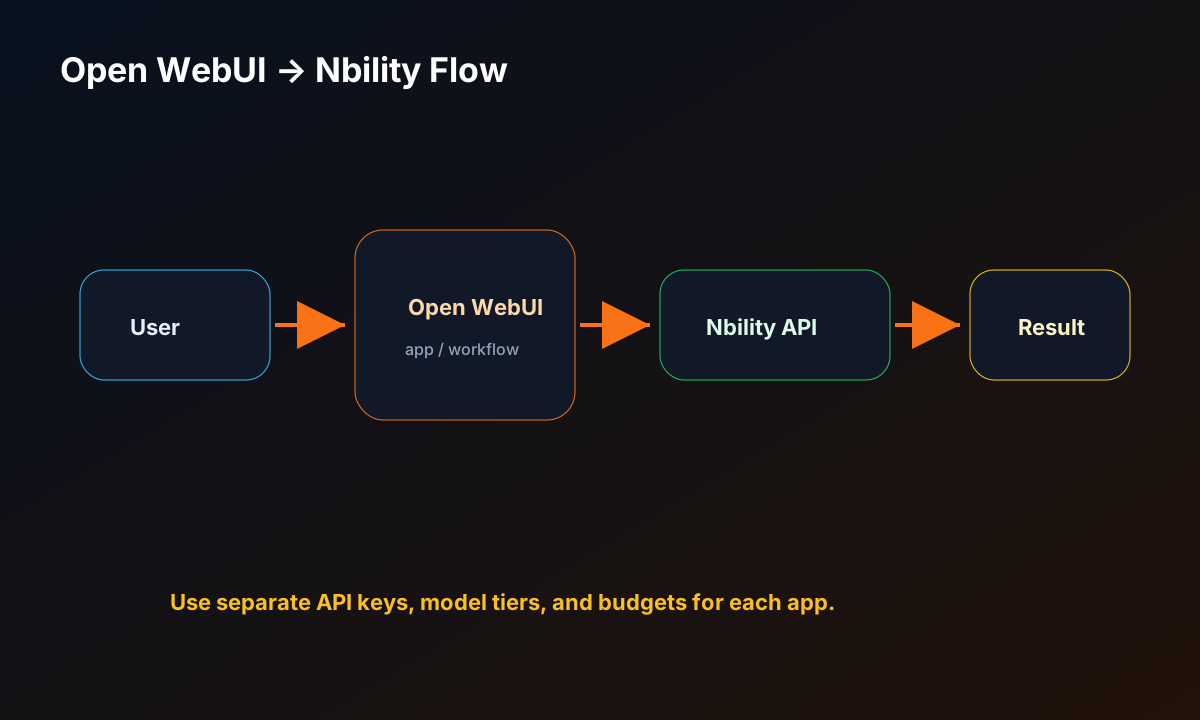
A typical architecture is:
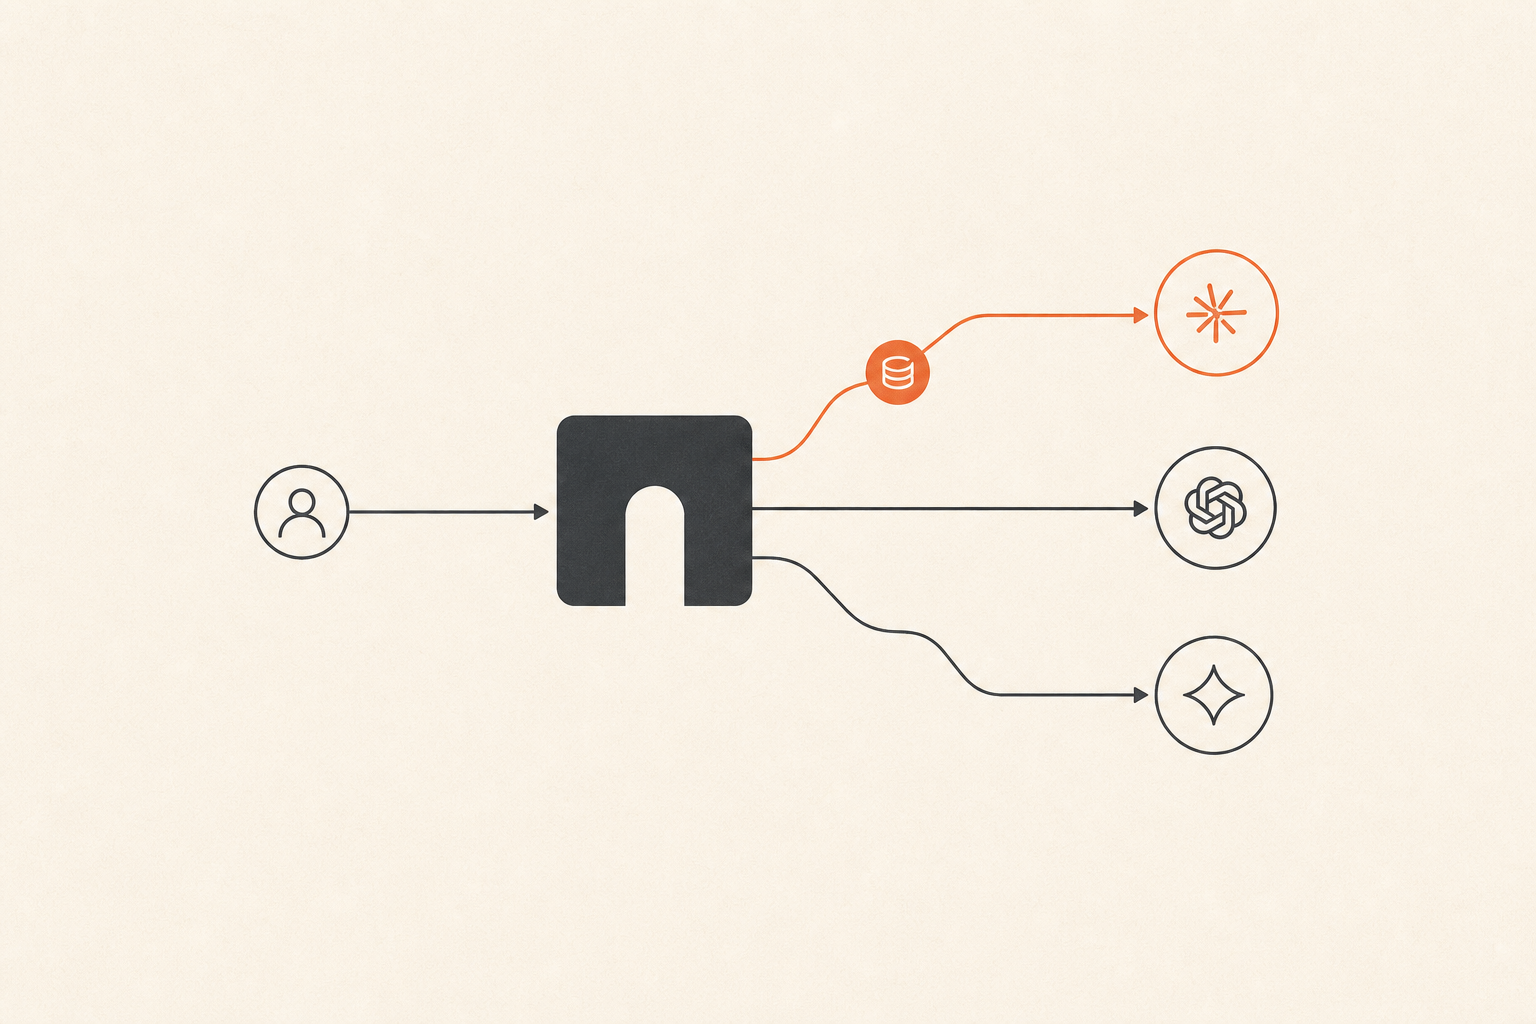
user / trigger -> Open WebUI -> OpenAI-compatible API -> Nbility -> model -> result
The app manages UX and workflow. Nbility manages a unified model endpoint, API keys, and token usage.
Step 1: Prepare Nbility API Details
Open:
https://nbility.ai
Prepare:
Base URL: https://api.nbility.ai/v1
API Key:  [REDACTED]
Model:    a model available in your account
Never publish real keys in articles, screenshots, or logs.
Step 2: Deploy or Open Open WebUI
If self-hosting, start from the official Docker or installation guide. The important idea is: if the app supports OpenAI-compatible or custom OpenAI endpoints, it can usually connect to Nbility.
Step 3: Configure the Model Provider
Look for model/provider settings and fill in:
Provider: OpenAI / OpenAI-compatible / Custom
Base URL: https://api.nbility.ai/v1
API Key: [REDACTED]
Model: your model name
If the UI has no Base URL field, check Docker environment variables, server config, admin settings, or “custom provider” options.
Step 4: Run the Smallest End-to-End Test
Start with one simple prompt:
Reply in one sentence and confirm the current model endpoint is working.
Check:
- response works;
- no 401 error;
- model name is valid;
- logs do not expose the key;
- token usage looks reasonable.
Step 5: Add a Real Workflow
Open WebUI becomes valuable when it handles repeatable work:
- personal knowledge-base Q&A;
- business FAQ support;
- daily summaries and reports;
- group-chat Q&A;
- document summarization;
- automation notifications;
- API and data workflows.
Token Cost Controls
Once Open WebUI becomes a daily tool, token usage becomes continuous. Recommended controls:
- create a separate Nbility API Key for Open WebUI;
- use cost-effective models for daily tasks;
- reserve stronger models for hard tasks;
- control RAG chunking and retrieval count;
- add triggers and cooldowns for group/automation flows;
- avoid logging full prompts and keys;
- review usage weekly.

Common Issues
1. 401 unauthorized
Usually a wrong API key, extra whitespace, or a web login token instead of an API key.
2. model not found
Use a model name available in your Nbility account. Do not blindly copy another platform’s model name.
3. Should Base URL include /v1?
Most OpenAI-compatible apps use:
https://api.nbility.ai/v1
Some apps append /v1 automatically, in which case use:
https://api.nbility.ai
If you see 404 errors, check this first.
4. Usage is higher than expected
Check knowledge base retrieval, long history, auto summaries, plugins, tool calls, and group-chat triggers.